If you just spotted a line running across your concrete, you’re probably searching for how to fix cracks in basement floor problems before they turn into something worse. Good instinct. Basement floor cracks rarely fix themselves, and the longer you wait, the more likely you are dealing with water intrusion, mold, or a structural issue instead of a simple cosmetic patch.
Why Basement Floors Crack in the First Place
Before you learn how to fix cracks in basement floor slabs, you need to understand why they happen. Concrete doesn’t crack randomly — there’s almost always a mechanical or environmental cause behind it.
Common causes include:
- Concrete shrinkage — as concrete cures, it loses moisture and contracts, creating small surface cracks within the first year
- Soil settlement — the ground beneath your slab shifts over time, especially in homes built on fill dirt or poorly compacted soil
- Hydrostatic pressure — groundwater pushing up against the underside of your slab from below
- Poor drainage — water pooling near the foundation instead of draining away
- Freeze-thaw cycles — common in northern states, where repeated freezing and thawing stresses the concrete and surrounding soil
- Heaving — expansive clay soil absorbing water and pushing the slab upward
Each of these causes points to a different repair strategy, which is exactly why so many DIY attempts fail. Patching a crack caused by hydrostatic pressure with a surface sealant only buys you a few months before the water finds a new path. how to remove stopper from bathroom sink
Step 1: Diagnose the Crack Before You Touch It
The single biggest mistake homeowners make when trying to figure out how to fix cracks in basement floor slabs is skipping diagnosis and going straight to product shopping. Not all cracks are equal, and the wrong fix wastes money and time.
Crack Types and What They Mean
| Crack Type | Width | Likely Cause | Urgency |
|---|---|---|---|
| Hairline crack | Less than 1/16″ | Normal concrete shrinkage | Low — monitor |
| Shrinkage crack | 1/16″ – 1/8″ | Curing process, minor stress | Low to moderate |
| Settlement crack | 1/8″ – 1/4″ | Soil movement under slab | Moderate |
| Structural crack | 1/4″+ or widening | Foundation stress, footing failure | High — call a professional |
| Heaving crack | Varies, floor visibly rising | Expansive soil, water absorption | High — call a professional |
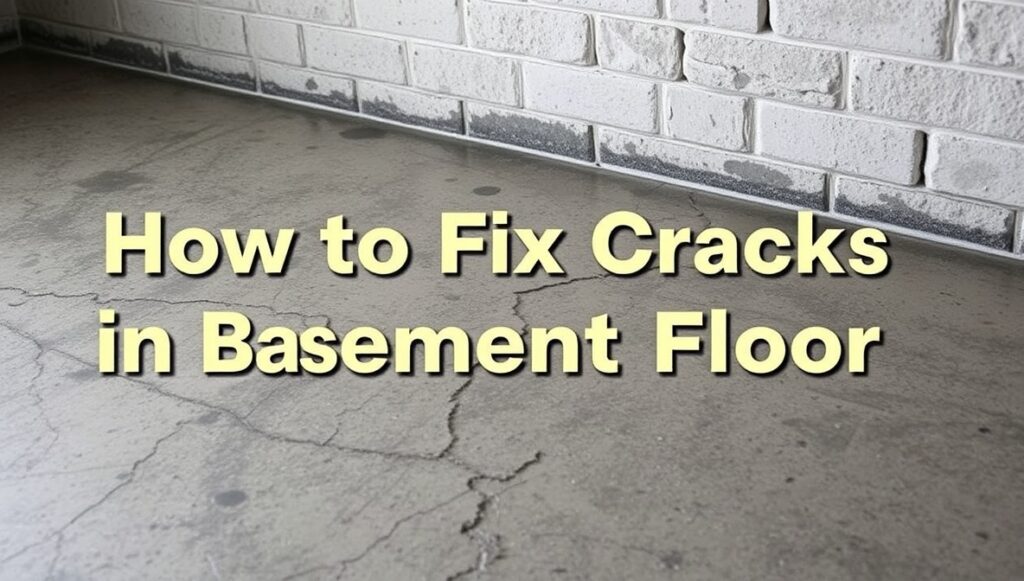
How to check crack width at home:
- Use a crack gauge or a simple ruler measured in sixteenths of an inch
- Take a photo with a coin next to the crack for scale, then check it again in 60–90 days
- Note whether the crack is a straight line or running parallel to a wall (parallel cracks near foundation walls are a red flag)
- Check if the two sides of the crack are level or if one side sits higher than the other
If the crack has any vertical displacement — meaning one side is higher than the other — that’s not something a sealant fixes. That’s a structural signal.
Step 2: Gather the Right Materials
Once you understand what you’re dealing with, learning how to fix cracks in basement floor cracks yourself comes down to using the correct material for the crack type.
Materials comparison:
| Material | Best For | Pros | Cons |
|---|---|---|---|
| Hydraulic cement | Active leaks, quick patch | Sets fast, stops water immediately | Rigid, can crack again, not permanent |
| Epoxy injection | Structural, non-moving cracks | Bonds concrete back together, very strong | Doesn’t flex, wrong choice for moving cracks |
| Polyurethane injection | Cracks with ongoing movement | Flexible, expands to fill voids, waterproof | Slightly more expensive, requires precise injection |
| Concrete crack sealant/caulk | Hairline, cosmetic cracks | Cheap, easy for beginners | Surface-level only, doesn’t stop water from below |
Basic tool checklist:
- Wire brush and shop vacuum
- Hammer and cold chisel (for widening/cleaning the crack)
- Injection ports (for epoxy or polyurethane methods)
- Caulking gun
- Safety glasses, gloves, and a dust mask
- Dehumidifier or hair dryer (to dry the area before repair)
Step 3: The DIY Repair Process
Here’s the actual step-by-step process for how to fix cracks in basement floor concrete using injection methods, which hold up better long-term than surface patches.
Step-by-Step Injection Repair
- Clean the crack. Remove loose debris, dust, and any old sealant using a wire brush and shop vacuum. The surface needs to be clean for anything to bond properly.
- Dry the area completely. If there’s any dampness, use a dehumidifier or hair dryer. Epoxy and polyurethane won’t bond to a wet surface.
- Install injection ports. Space small plastic ports every 8–12 inches along the length of the crack. These allow the repair material to be pushed into the full depth of the crack, not just the surface.
- Seal the surface. Cover the crack between the ports with a surface-paste epoxy to prevent the injected material from leaking out before it cures.
- Inject the material. Starting from the lowest port, inject epoxy or polyurethane until it flows out of the port above it, then move to the next one. This ensures the crack fills from the bottom up with no air gaps.
- Let it cure. Follow the product’s cure time — typically a few hours for polyurethane, up to 24 hours for epoxy.
- Remove the ports and finish the surface. Snap off the injection ports and grind the surface flush if needed.
This process is more involved than a caulk-and-forget approach, but it’s the difference between a repair that lasts one rainy season and one that lasts the life of your slab.
When DIY Isn’t the Right Move
Not every situation is something you should tackle yourself, even with the right materials. If you’re still researching how to fix cracks in basement floor damage and the crack keeps reappearing or growing, that’s your signal to stop and call a structural engineer or foundation repair contractor.
Call a professional if you notice:
- Cracks wider than 1/4 inch
- Vertical displacement between the two sides of the crack
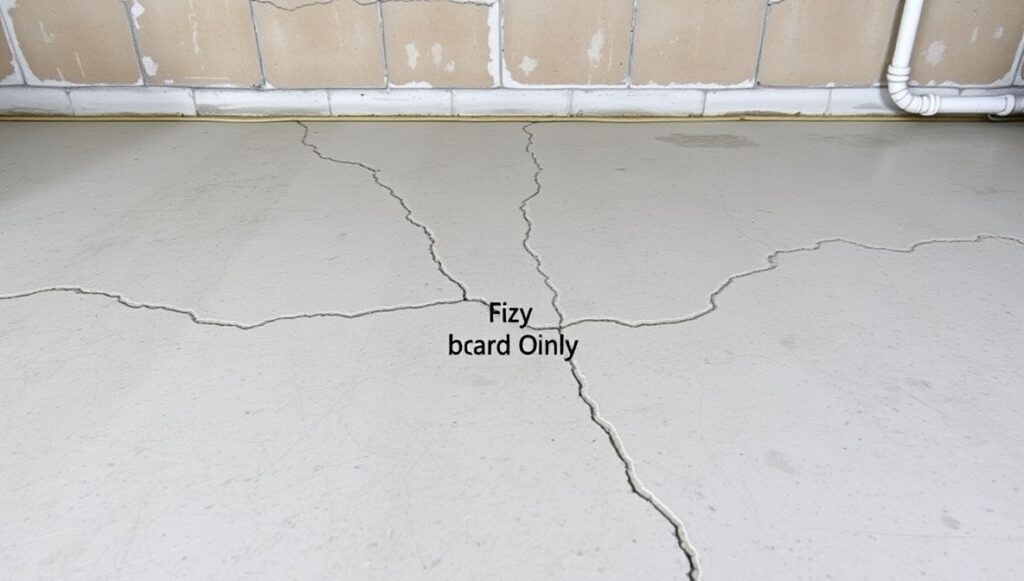
- Multiple cracks appearing in a pattern, not isolated spots
- Water actively flowing through the crack, not just seeping
- Doors or windows nearby sticking or misaligning
- Visible floor heaving or sinking in one area
Professional repair typically involves grinding out the damaged concrete to create a clean channel, then filling it with a bonding material that cures harder than the original slab. This step — properly preparing the crack before filling it — is exactly what most DIY kits skip, which is why store-bought patches often fail within a year or two.
Cost Breakdown: DIY vs. Professional
| Repair Method | Estimated Cost (US) | Longevity |
|---|---|---|
| DIY caulk/sealant | $10–$30 per crack | 6 months–2 years |
| DIY epoxy/polyurethane injection kit | $50–$150 per crack | 3–7 years |
| Professional injection repair | $300–$800 per crack | 10+ years |
| Interior drainage system + sump pump | $2,500–$7,500 | Lifetime with maintenance |
| Full slab replacement | $20,000–$40,000 | 25+ years |
Understanding these numbers upfront helps you decide whether it’s worth attempting how to fix cracks in basement floor issues on your own or hiring it out from the start.
Preventing Future Cracks
Fixing the crack is only half the job. If the underlying cause isn’t addressed, you’ll be back here again in a year.
Prevention checklist:
- Keep gutters and downspouts clean, directing water at least 10 feet away from your foundation
- Grade the soil around your home so it slopes away from the foundation
- Install a vapor barrier if your basement floor doesn’t have one
- Consider an interior perimeter drain and sump pump if hydrostatic pressure is a recurring issue
- Monitor existing repairs with a crack gauge every few months
- Avoid overwatering landscaping beds close to the foundation
How to Fix Cracks in Basement Floor: Quick Reference Summary
If you only remember one thing from this guide, remember this: diagnosing the crack correctly matters more than which product you buy. A homeowner who spends 20 minutes measuring and photographing a crack before shopping for materials will get a better long-term result than someone who grabs the first tube of caulk at the hardware store.
Quick decision framework:
- Measure the crack width and check for vertical displacement
- Match the crack type to the correct repair material using the table above
- Clean, dry, and prep the area properly before applying anything
- Use injection methods for anything beyond hairline cracks
- Call a professional if the crack is wide, growing, or leaking actively
Frequently Asked Questions
Is it normal for a basement floor to have cracks?
Yes, minor hairline cracks from concrete shrinkage are common and usually not a structural concern. Wider cracks or ones with vertical displacement need further evaluation.
Can I fix a basement floor crack myself?
Small to moderate cracks can often be repaired with epoxy or polyurethane injection kits. Wide, growing, or actively leaking cracks are better handled by a foundation repair professional.
What is the best material to fix a basement floor crack?
Polyurethane works best for cracks with movement, while epoxy is stronger for stable, non-moving cracks. Hydraulic cement is a fast fix for active leaks but isn’t a permanent solution.
How much does it cost to fix a basement floor crack?
DIY kits typically cost $50–$150 per crack, while professional repairs range from $300–$800 depending on crack size and accessibility.
Will a basement floor crack repair pass a home inspection?
A properly sealed and documented repair usually passes inspection, but inspectors may flag active leaks, structural cracks, or signs of ongoing settlement regardless of prior repairs.
How do I know if a basement floor crack is structural?
Check the crack width and look for vertical displacement between the two sides. Cracks wider than 1/4 inch, running parallel to foundation walls, or showing signs of movement should be evaluated by a professional.
Can basement floor cracks let in radon or gas?
Yes, unsealed cracks can be an entry point for radon gas in addition to water. Sealing cracks properly with a gas-tight epoxy or polyurethane barrier helps reduce this risk.
