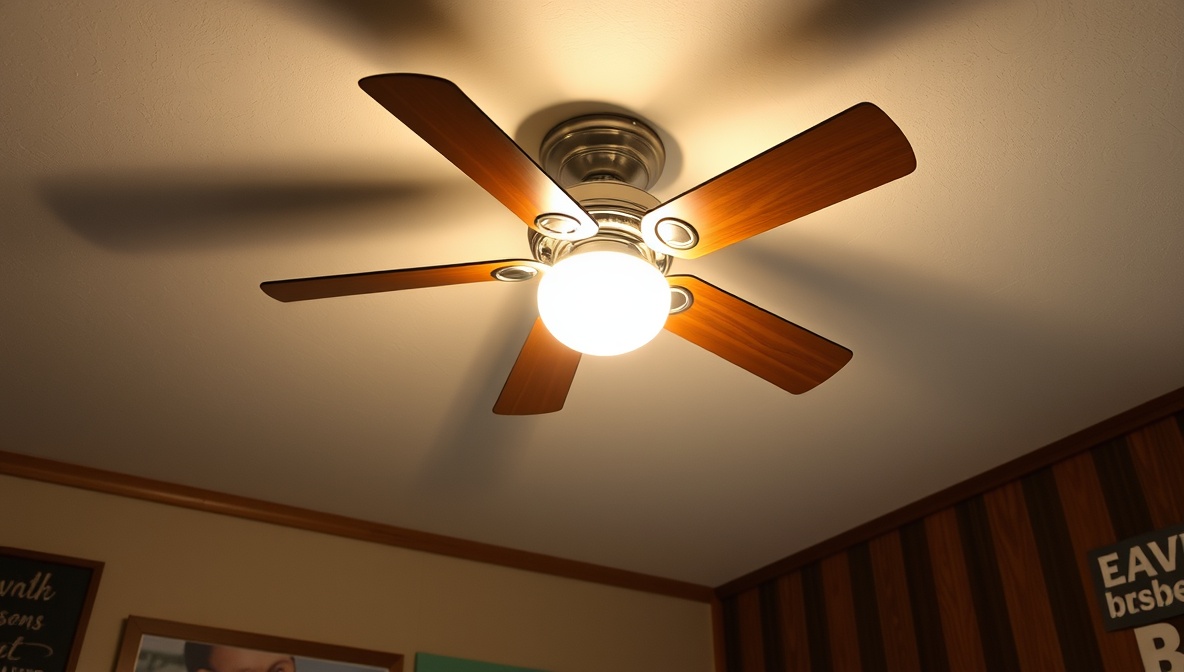
Most homeowners assume they can simply pull down an old light fixture and bolt on a new fan. In reality, when you replace light with ceiling fan, you’re dealing with three separate problems at once: structural support, electrical box rating, and switch wiring. Skip any one of them and you end up with a fan that wobbles, hums, or won’t shut off properly.
Can You Replace a Light Fixture with a Ceiling Fan?
In most homes, yes. If your ceiling already has wiring for a light, that wiring can usually be reused. But before you replace light with ceiling fan, you need to confirm two things:
- The electrical box is rated to hold a moving fan, not just a static fixture
- The box is properly anchored to a joist or brace bar, not just drywall
A standard light fixture weighs a few pounds and doesn’t move. A ceiling fan weighs 15–35+ pounds and creates constant rotational force and vibration. That’s the entire reason this project isn’t as simple as “unscrew old, screw in new.”
What You Need Before You Replace Light with Ceiling Fan
Gather these before you climb the ladder:
Tools:
- Voltage tester (non-negotiable — never trust a wall switch alone)
- Screwdriver set (Phillips and flathead)
- Wire cutters/strippers
- Adjustable wrench
- Ladder
- Stud finder
Materials:
- Fan-rated electrical box
- Fan brace bar (if the existing box isn’t already braced to a joist)
- Wire nuts
- Your new ceiling fan kit (fan, downrod, light kit if applicable, mounting bracket) how do you spell window seal
Optional but recommended:
- Smart fan/light switch or remote receiver kit (covered below)
- Ceiling medallion (if the new canopy is smaller than your old fixture’s base)
Step 1: Turn Off Power the Right Way
Before you touch anything, cut power at the breaker — not just the wall switch. Wall switches can be miswired, especially in older homes.
- Flip the breaker that controls the room
- Turn the wall switch on and off to confirm the light doesn’t respond
- Use a voltage tester directly on the wires in the ceiling box before touching them
- Tape over the breaker so no one flips it back on while you’re working
Step 2: Remove the Old Light Fixture
- Remove any glass shade or globe to reduce weight
- Unscrew the mounting screws or retaining nut holding the fixture to the ceiling
- Lower the fixture carefully — have someone support it if it’s heavy
- Disconnect the wire nuts and take a photo of the wiring before separating anything
This photo matters more than people think. When you replace light with ceiling fan wiring later, you’ll want a reference for how many wire sets you’re dealing with.
Step 3: Check (and Likely Replace) the Electrical Box
This is the step most homeowners get wrong, and it’s the single biggest reason to be cautious when you replace light with ceiling fan setups.
Look inside the box for a stamp that says “Acceptable for Fan Support” or similar UL-rated language. If you don’t see it, assume it’s not rated for a fan.
| Box Type | Safe for Ceiling Fan? | What to Do |
|---|---|---|
| Plastic box, no bracing | No | Replace with fan-rated metal box |
| Metal box stamped “fan-rated” | Yes | Confirm it’s screwed into a joist |
| Metal box, unstamped | No | Replace or add a brace bar |
| Box attached only to drywall | No | Add a brace bar between joists |
If the box isn’t rated, install a fan brace bar:
- Cut or use the existing hole in the drywall
- Insert the telescoping brace bar between two ceiling joists
- Rotate it until the teeth grip both joists securely
- Attach the fan-rated box to the bracket, centered in the opening
- Feed the existing wiring through the new box
Step 4: Understand the Wiring Before You Replace Light with Ceiling Fan Controls
This is where most guides stop at “match black to black, white to white” — but that only works if your home already has separate switches. Here’s what you’re actually dealing with, based on common wiring setups.
Scenario 1: Single Switch, One Set of Wires
The most common setup in older homes. One switch controls power to the box; nothing separates fan and light functions.
- Black (hot) connects to the fan’s black wire
- White (neutral) connects to the fan’s white wire
- Copper/green connects to ground
- The fan and light will turn on together from the wall switch
- Fan speed and light on/off are then controlled by pull chains or a remote
Scenario 2: Two Switches, Two Wire Sets
Common if the room was pre-wired for a fan at some point.
- One black wire is constant hot (always live)
- A second wire, often red, is switched separately
- Black (constant) typically feeds the fan motor
- Red (switched) typically feeds the light kit
- Each wall switch controls its own function independently
Scenario 3: Single Switch, But You Want Independent Fan and Light Control
This is the scenario almost nobody explains clearly, and it’s the one most people run into when they replace light with ceiling fan setups in bedrooms and living rooms.
You have three real options:
- Wall-mounted remote receiver kit — installs inside the fan canopy and lets a handheld remote control fan speed and light separately, using only the single existing switch as main power
- Smart fan/light switch — replaces the single wall switch with a device that sends separate signals via app or physical controls
- Run new wire — the most invasive option; only worth it if you’re already opening up the wall/ceiling for other work
For 90% of homeowners, the remote receiver kit is the fastest and cheapest fix.
Step 5: Mount the Fan
- Attach the mounting bracket to the fan-rated box
- Hang the fan motor on the bracket’s hook to free your hands for wiring
- Connect wires according to the scenario above, twisting wire nuts clockwise and tugging to confirm a secure connection
- Push wires up into the box and attach the canopy
- Attach fan blades if not pre-installed
- Install the light kit, if included, following the manufacturer’s wire diagram
Step 6: Test and Balance
- Restore power at the breaker
- Test the wall switch, then the remote/pull chain functions
- Run the fan on high for several minutes and watch for wobble
- If it wobbles, check blade balance with a balancing kit (usually included) before assuming it’s a mounting issue
Ceiling Height and Clearance Rules
Before you finalize your purchase or replace light with ceiling fan hardware, confirm clearance:
- Blades must be at least 7 feet from the floor
- Blades should sit 8–10 inches below the ceiling for proper airflow
- For ceilings under 8 feet, use a flush-mount “hugger” fan instead of a downrod model
- For vaulted or sloped ceilings, use an angled mounting kit rated for your specific slope
DIY vs. Hiring an Electrician
| Factor | DIY | Electrician |
|---|---|---|
| Box already fan-rated | Yes, straightforward | Not needed |
| No attic/ceiling access | Difficult | Recommended |
| Adding new switch wiring | Not recommended for beginners | Recommended |
| Aluminum wiring present | Not recommended | Required |
| Average cost | $0 (tools + materials only) | $150–$350 |
| Average time | 2–4 hours | 1–2 hours |
If your home has aluminum wiring, knob-and-tube wiring, or no accessible attic space, hire a licensed electrician. The savings from a DIY job aren’t worth the fire risk.
Patching the Ceiling Around the New Fan
Fan canopies and old light fixture bases rarely match in size. If the new canopy is smaller than the old fixture’s footprint, you’ll see an unpainted ring or old screw holes.
- Use a ceiling medallion to cover the gap without patching
- Or lightly sand, spackle, and touch up paint around the visible edge
- Take a photo of the ceiling before removing the old fixture so you know exactly what you’re covering
Frequently Asked Questions
Can I replace light with ceiling fan wiring without hiring an electrician?
In most homes with standard wiring and attic access, yes — this is a common DIY project. If you have aluminum wiring or no ceiling access, hire a licensed electrician.
Do I need a special electrical box to replace light with ceiling fan fixtures?
Yes. Standard light fixture boxes aren’t rated for the weight and vibration of a fan, so you’ll need a UL-listed fan-rated box, often paired with a brace bar.
What if my room only has one switch?
Use a remote receiver kit installed in the fan canopy, or replace the switch with a smart fan/light control. Both let you run fan speed and lighting independently from one existing wire.
How much does it cost to replace light with ceiling fan installation?
DIY installation typically costs $0–$50 beyond the fan itself (for a brace bar or box). Hiring an electrician runs $150–$350 depending on wiring complexity.
Why does my new fan wobble after installation?
Wobble usually comes from unbalanced blades, not a mounting issue. Use the balancing kit included with most fans before assuming the box or bracket is the problem.
Can I use my ceiling fan’s light kit with the existing single switch?
Yes — in a single-switch setup, the switch will control both the fan and light together unless you add a remote receiver or smart control to separate them.
How do I know if my ceiling can support a fan?
Check for a “fan-rated” stamp inside the electrical box. If it’s absent, install a brace bar between the ceiling joists before mounting anything.
