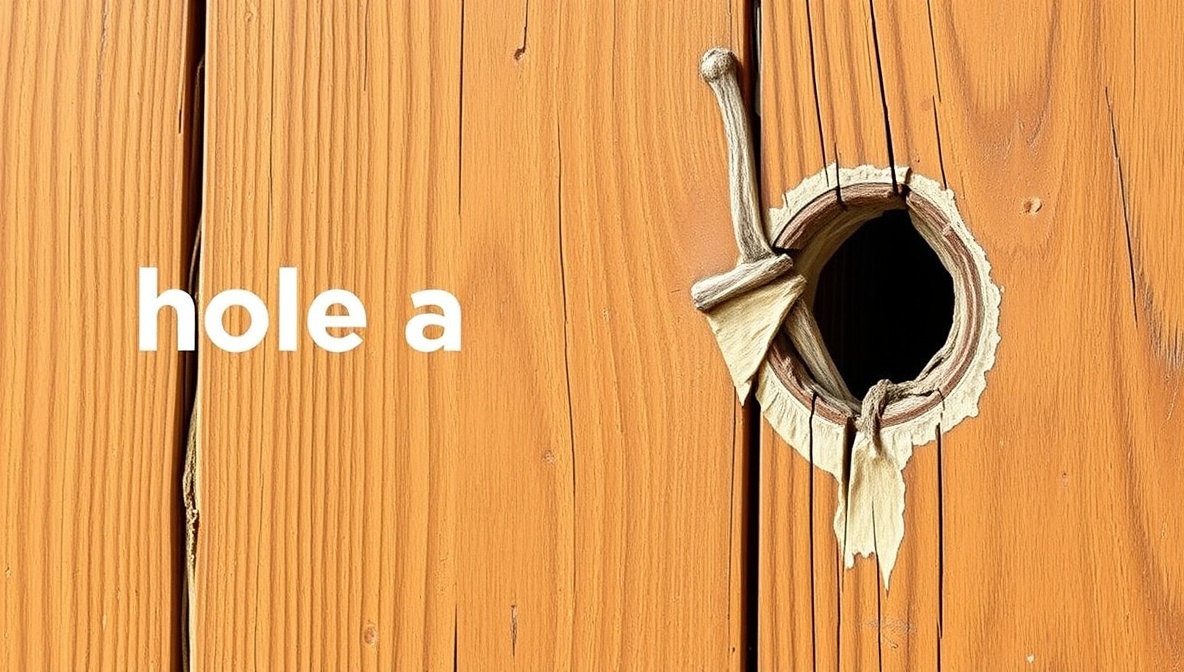
Doorways take a beating in a busy home — a slammed knob, a swift kick, or an overly enthusiastic pet can leave a nasty gap behind. The good news is that learning how to fix a hole in a door doesn’t require carpentry experience, expensive tools, or a full replacement. With a few affordable supplies and about an hour of patience, you can restore your door to a smooth, paint-ready surface.
Whether you’re dealing with a hollow-core interior door or a solid wood exterior door, the repair process follows the same basic logic: clean the damage, build a stable base, fill it, sand it, and finish it. This guide walks through every stage in detail, based on the methods most commonly recommended by professional handymen and experienced DIYers, so you can get lasting results the first time.
Why Doors Get Damaged So Easily
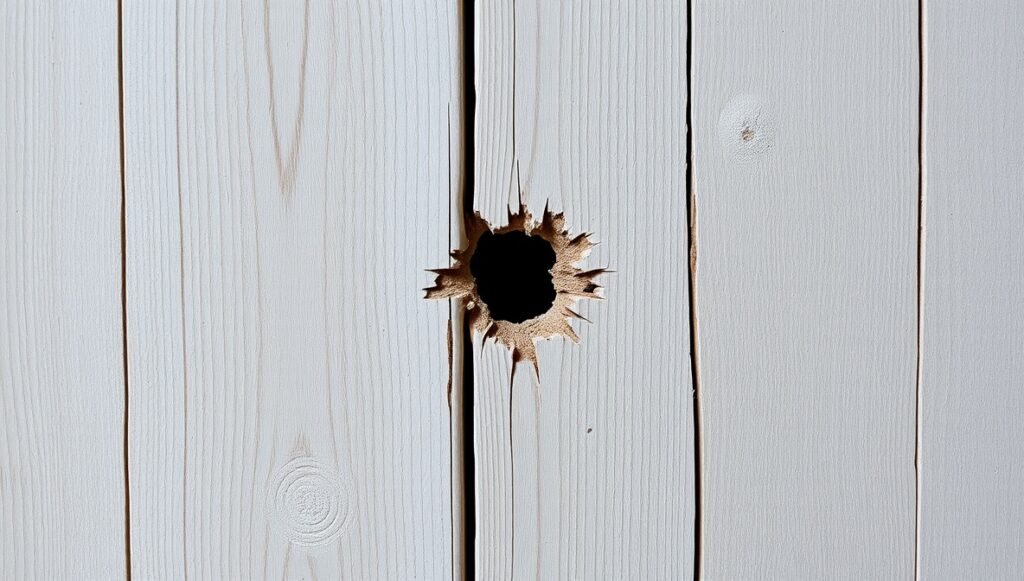
Interior doors, especially hollow-core models, are made from thin sheets of wood or MDF wrapped around a honeycomb cardboard core. That construction keeps them light and affordable, but it also means they dent and puncture far more easily than solid wood. A doorknob crashing into drywall-thin panels, a moving day mishap, or an accidental punch can all leave a hole behind. Solid wood and exterior doors are tougher, but they’re not immune — old pet doors, warped hinges, and forced entry attempts can all leave gaps that need patching how to fix a hole in a door.
Regardless of the cause, the underlying repair principles stay the same, which is why understanding your door type before you start is the first real step in any door hole repair. how to fix scratches on wood floor
Tools and Materials You’ll Need
Before you begin, gather everything so you’re not stopping mid-project. Here’s a general materials list:
- Utility knife
- 120-grit and 220-grit sandpaper (or a sanding block)
- Wood filler or spackle
- Putty knife or plastic scraper
- Self-adhesive mesh patch (for hollow doors)
- Expanding spray foam insulation (optional, for larger holes)
- Wood dowel (for solid wood doors)
- Wood glue
- Primer
- Paint that matches your door
- Drop cloth or old sheet
- Rubber gloves and a dust mask
Having these on hand makes the entire process go smoothly and prevents you from having to pause halfway through a wet-filler stage.
Step-by-Step: Repairing a Hollow-Core Door

Most interior doors are hollow, so this method covers the majority of household repairs.
Step 1: Clean and Prep the Hole
Start by removing loose splinters and debris around the damaged area. Use a utility knife to trim away any soft or crushed material until you have a clean, somewhat smooth edge. Cutting away from your body reduces the risk of injury, and slightly widening a ragged hole often makes it easier to patch neatly than trying to work around jagged edges.
Step 2: Create a Backing
Because hollow doors have empty cavities, you need something behind the hole to support your filler. Stuffing the cavity with crumpled newspaper is a classic, low-cost method — it creates a barrier so filler doesn’t disappear into the door. Alternatively, insert a small block of wood or rigid foam for a sturdier base. For larger holes, many people fill the recess with expanding spray foam, let it cure, then trim it flush before applying filler on top.
Step 3: Apply a Mesh Patch and Filler
Over small to medium holes, a self-adhesive fiberglass mesh patch works well. Press it firmly over the hole so it overlaps the edges, then spread a thin layer of spackle or wood filler across it using a putty knife. Feather the edges outward so the patch blends into the surrounding surface rather than sitting as a raised lump.
Step 4: Let It Dry, Then Sand
Allow the filler to cure fully — this usually takes several hours, though thicker applications may need overnight drying. Once hardened, sand the area with 120-grit paper first, then finish with 220-grit for a smooth, even surface. Wipe away dust with a damp cloth before moving to painting.
Step-by-Step: Repairing a Solid Wood Door
Solid wood doors need a slightly different approach since there’s no hollow cavity, but the same core logic applies when you’re figuring out how to fix a hole in a door made of solid timber.
- Clean the hole’s edges with a utility knife and remove any splintered or crushed wood.
- Select a wooden dowel close in diameter to the hole, widening the hole slightly if needed so the dowel fits snugly.
- Coat the dowel in wood glue and tap it into place with a hammer, leaving it slightly proud of the surface.
- Once the glue dries, trim the excess dowel flush using a hand saw or chisel.
- Apply wood filler over the top to smooth out any remaining gaps, then sand until level.
This dowel method is sturdier than filler alone because it replaces missing wood with actual wood, which holds up better over time, especially on exterior doors exposed to weather and daily use how to fix a hole in a door how to fix a hole in a door.
Priming and Painting the Repaired Area

Once your patch is sanded smooth, prime the entire repaired section before painting. Primer prevents old stains, tannins, or exposed filler from bleeding through your topcoat and ensures the paint adheres evenly. Let the primer dry fully according to the can’s instructions, then apply paint in thin, even coats, matching your door’s existing color and sheen as closely as possible. For the cleanest results, many people prime and paint the whole door panel rather than just the patched spot, since spot-painting can leave a visible sheen difference.
Materials Cost Comparison
| Material | Approximate Cost | Best For |
|---|---|---|
| Spackle | Low | Small nail holes and dents |
| Wood filler | Low-Medium | Small to medium holes, solid wood |
| Mesh patch kit | Medium | Medium holes in hollow doors |
| Expanding spray foam | Medium | Large holes in hollow doors |
| Wood dowel + glue | Low | Solid wood door punctures |
| Replacement door | High | Severe structural damage |
This comparison shows why most homeowners choose repair over replacement — patching a hole costs a fraction of buying a new door, and in most cases the finished result is visually indistinguishable from an undamaged surface.
Common Mistakes to Avoid
- Skipping the cleanup step. Painting or filling over splinters and loose debris weakens the repair and shortens its lifespan.
- Overfilling with spray foam. Foam expands significantly after application; overfilling can bulge the door’s surface and require extra sanding to correct.
- Rushing the drying time. Sanding or painting before filler is fully cured often leads to cracking or an uneven finish.
- Ignoring the backing. Filling a hollow-core hole without any backing material usually results in the filler sinking or falling through.
- Mismatched paint sheen. Using a slightly different finish than the rest of the door makes the repair obvious even when the surface is perfectly smooth.
Avoiding these missteps is often what separates a professional-looking patch from one that’s noticeable up close.
When to Consider Replacing the Door Instead
Not every hole is worth patching. If a door has multiple large holes, water damage, warping, or a compromised frame, repairing it repeatedly may cost more time and money than simply installing a new one. Exterior hollow-core doors in particular are more vulnerable to repeated damage and are also less energy efficient than solid wood alternatives, so if damage keeps recurring, upgrading to a sturdier door might be the smarter long-term investment.
Frequently Asked Questions
Can I fix a hole in a door without removing it from its hinges?
Yes, minor to moderate holes can usually be repaired with the door still hanging, as long as you can access both sides comfortably. Larger repairs, especially those involving dowels or extensive sanding, are often easier with the door laid flat on a stable work surface.
How long does it take for wood filler to dry before sanding?
Most wood fillers are dry to the touch within a few hours, but full curing can take up to 24 hours depending on the product and the thickness of the application. Always check the manufacturer’s instructions, since sanding too early can pull the filler out of the hole.
What’s the difference between spackle and wood filler?
Spackle is generally lighter and more flexible, making it ideal for small nail holes and surface imperfections, while wood filler is denser and better suited to structural gaps, deeper holes, and areas that need more strength once cured.
Do I need a mesh patch for every hole?
Not necessarily. Very small holes can often be filled directly with spackle or wood filler without a patch. Mesh patches become useful once the hole is wider than about an inch, since they give the filler something solid to bond to and prevent sagging.
Will the repaired area be visible after painting?
If you sand the surface properly, prime it, and match the paint color and sheen, the patched area should blend in almost seamlessly. Good lighting and a slow, careful painting technique make the biggest difference in hiding the repair.
Is it cheaper to repair or replace a damaged door?
Repairing is almost always cheaper for isolated holes and cosmetic damage. Replacement only becomes cost-effective when a door has extensive structural damage, persistent moisture problems, or multiple past repairs that have started to fail.
Final Thoughts
Once you understand how to fix a hole in a door, minor dings and punctures stop being a source of stress. The process boils down to a few repeatable stages: clean the area, build a solid backing, apply the right filler for your door type, sand it smooth, and finish with primer and matching paint. With the right materials on hand, most repairs can be completed in an afternoon, saving you the cost of a full door replacement while leaving your home looking freshly maintained. It’s a practical skill worth having, whether you’re a first-time DIYer or simply looking to keep your space in top condition.
